Post Tracker
Engagement Post Tracker is available on PRO (Tier 3 accounts) and works on posts that are NOT live videos
Post Tracking jobs are configured and managed under the "Tools and Automations" menu. When you create a Post Tracking Job, all processed comments will result in adding the commenter to GroupTrack. You will be able to configure initial settings for each contact, including Group/Global Tags, initial Stages, and whether to queue a Snippet or not.
The Post Tracker Setup will walk you through a setup wizard as pictured below, but you will want to be sure to have the permalink to the job handy and have any desired message templates and/or tags created prior to starting your Job setup.

To Create a new Post Tracking Job:
- Click "Add New" to create a new Job.
- Give your Job a name.
- Enter the permalink to the Post you want to track. You can get the permalink by clicking the small date/time link under the Post author's name.
- GroupTrack will determine whether this Post is in a Registered Group, or if it is seen as being part of the Holding Tank. Be sure to confirm which pipeline that your commenters will be added to.
- Determine if you want to process existing comments on the post, such as those that may have already been processed manually.
- Determine if you want to use "Trigger Words" and complete the associated configuration steps if so.
- By default, Post Tracking Jobs are set to use Trigger Words, but none are configured.
- You can configure GroupTrack to only process comments that contain specific text. Only top-level comments will be checked for the presence of these words (not replies or nested comments).
- If you choose not to use Trigger Words, ALL top-level comments will be processed.
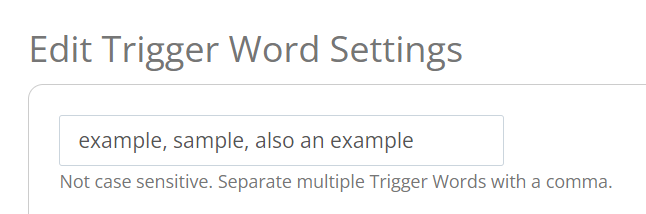
- If you choose to use Trigger Words, you will be able to configure as many words as you want and will be asked which (if any) global and pipeline tags should be added, which stage to add the contacts to, and if you want to queue a message to each contact added PER Trigger word. Tip: If you want multiple trigger words to trigger the same action, list each trigger word in a comma-separated list rather than creating separate trigger words. This will also save you some time if ever you need to update the actions taken by GroupTrack when processing your trigger words. Be sure to click "Done with this Trigger Word" at the bottom when you have completed your selections.
- If the commenter is NOT already in GroupTrack, they will get the Initial Stage set. If they ARE already in GroupTrack, their Stage will not be altered.
- Determine if/how you want to react to processed comments using the reaction emojis.
- Determine if/how you want to reply to processed comments.
- You can create multiple reply variations. GroupTrack will pick one of the replies you create when responding to processed comments.
- Be sure to look through the features and details listed under the Reply Variations box for additional options and support.
- Decide if you want to skip any commenters, such as skipping commenters who are already in your system (EX. existing clients).
- Determine how long to pause between processed comments and any additional breaks you want the system to take.
- By default, GroupTrack will wait between 15 and 25 seconds after processing a comment before moving to the next one.
- Configure your Loop Settings as desired following the on-screen instructions. Note that if you want your jobs to run on a Loop, your computer needs to be left on (without going to sleep) with your Chrome browser open so GroupTrack can process the loops.

To Run a Post Tracking Job:
Post Tracking Jobs exist at the Team Level, meaning everyone on the Team can see all Jobs that are created. However, they can only be run by a single Team Member at a time.
To run a Job, go to the "Tools and Automations" page and click the "Run Job" button in the Action column next to the name of the job you want to run.
If the Job is currently running, the Status column will indicate who started the Job, and at what time.
If YOU are the one who started the Job, the "Run" button in the Action column will be replaced with a "Stop" button.
If you are NOT the one who started the Job, the "Run" button in the Action column will read "Running" and not be clickable.
If you started the Job and want to stop it, you can click the "Stop" button. A popup will remind you to FIRST close the background tab that is actually performing the Job, then come back and confirm that you have done so.