Training: Supercharge Your GroupTrack with GroupTrack AI!
Catch the launch video here: https://www.facebook.com/groups/GroupTrackCRM/posts/1863613704096542/
What Does It Do And Why Is It So Cool?
As AI is becoming popular in the industry, many online coaches, course creators, and sellers are discovering the power of AI for content creation. AI bots are now everywhere but the downside is that they can easily produce robotic and disconnected content without proper context. Not cool!!
At GroupTrack, we're all about helping you nurture authentic human-to-human connections at scale.
To that end, we've carefully implemented AI to help duplicate your presence while crafting your business, your audience, your brand and your voice into every response.
Our embedded AI solution provides natural and on-brand content generation in the following ways:
- Message Template Generation: Describe the purpose of a Message Template and we'll generate an Intro, Message and Closer that matches your brand voice, is relevant to the linked Pipeline (if there is one) and includes "spin" syntax variation to keep your account safe.
- "Best Next Message": Using your goals along with previously sent Messages, the current Stage, Tags, and Notes about a Contact from the CRM, GroupTrack can generate the "Best Next Message" to send via DM to move them along your sales Pipeline!
- [Coming Soon] Post Tracker Replies: Using the original post content, the reply, and any known information about the commenter, GroupTrack can generate unique and appropriate responses for your Post Tracker Jobs.
Who Can Use It?
Pro tier subscribers!
Setup Instructions:
The following steps will collect the information needed to train the AI model uniquely for YOUR business.
Note: The fields to elaborate on your brand details are limited to 500 characters, so be concise in your responses.
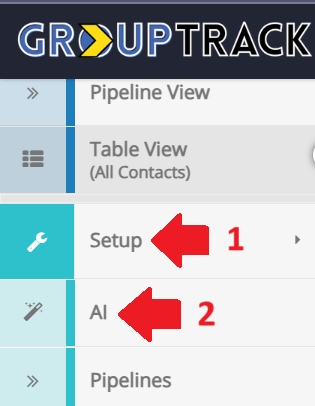
- Begin the setup wizard by going to Setup —> AI in the left-side menu
- Click the green "Configure GroupTrack AI" near the bottom of the page
- Choose "Next" on the introduction screen to progress to the "Your Business" screen
- Fill out the name and details about your business and offer(s).
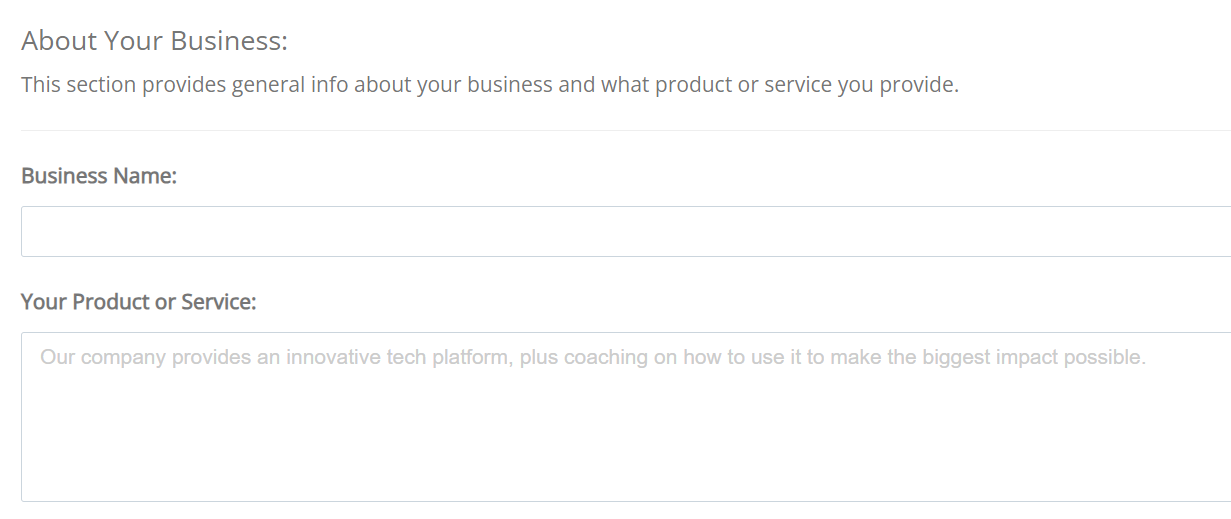
- Click Next when complete to move to the next step
- Fill out the details about your brand, including your brand description, voice, and personality.
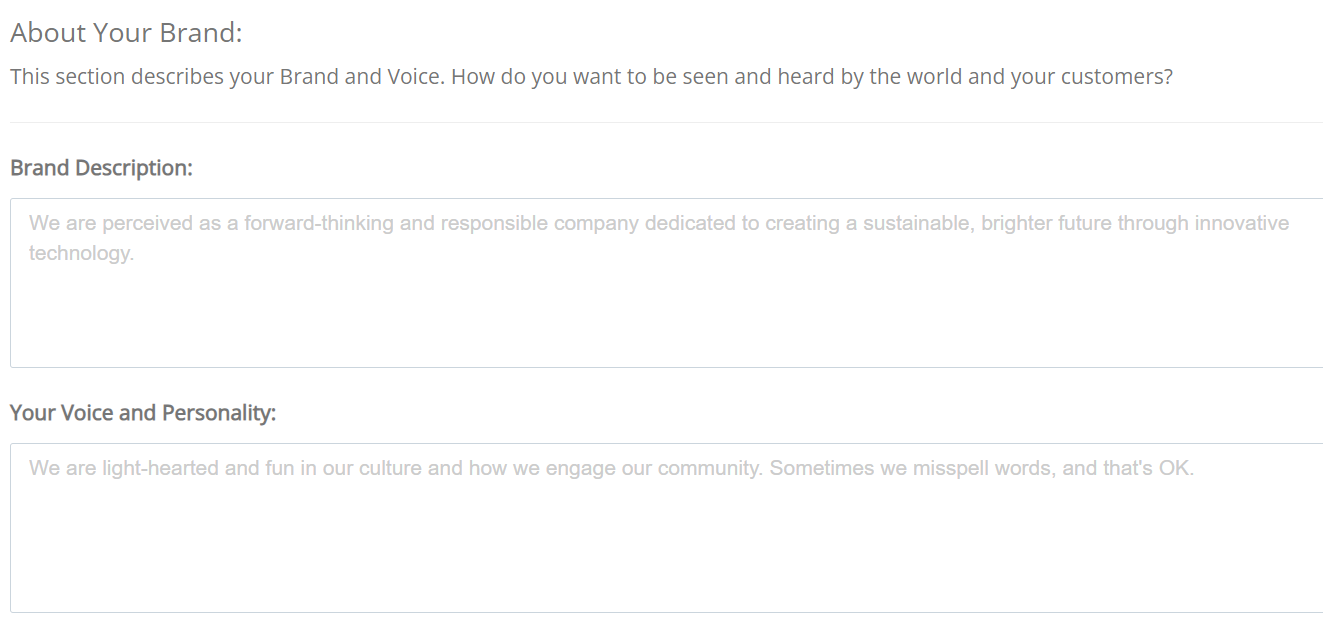
- Click Next when complete to move to the next step
- Fill out Your Market details about your ideal client

- Click Next when complete to move to the next step
- Step through each of your pipelines one at a time, describing where the contact is at in your customer journey when they are at each stage in your pipeline to give the system context for creating responses for you.
- Fill out Your Identity details with your MBTI or Archetypes. This step is unique to you as an individual rather than the brand as a whole.
- Click Finish to complete the setup wizard


How To Use It:
Note: It's really important to go through the configuration steps above prior to using the AI to generate content for you so that your system has context about you, your brand, and your voice to create more authentic responses. If you do not complete the configuration, your AI responses will be very generic.
Message Templates:
- Go to and select the dropdown next to your desired Message Template (or create a new one)
- Click the Magic Wand in the top right corner
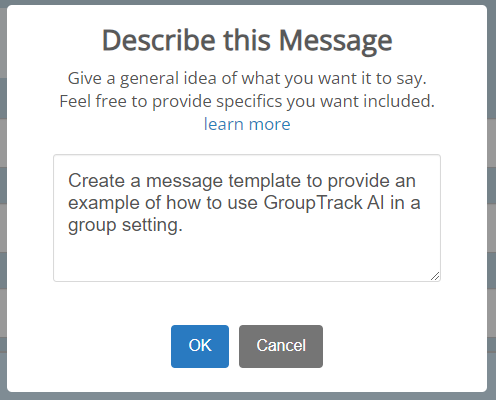
- Give the AI wizard a general idea of what you want the message to say and then click OK
- Note: The AI takes into account both your descriptions of the stages from the AI setup as well as the context of the stage description from the pipeline setup!
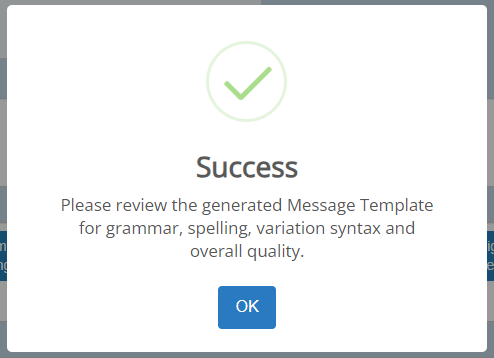
- Wait for the magic to happen! Then click OK to acknowledge the reminder:
- Review the generated message template for grammar, spelling, variation syntax, and overall quality. Remember, AI is not perfect all the time. If it spit out something strange, take a screenshot and send to [email protected] with details about what your prompt was and what it gave you so we can improve the tool.


Best Next Message:
- Open your desired contact card in the webapp or extension, and then choose your desired pipeline from the list of pipelines the contact is in.
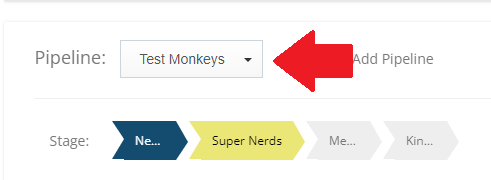
- Note: The AI takes into account the pipeline that is currently visible in the contact card, so make sure that your desired pipeline is selected in the dropdown to give the AI context to create your best next message. The AI will take into consideration the pipeline, current stage, next stage, pipeline tags, membership questions/answers, and any message history you have loaded into the activity log in its response.
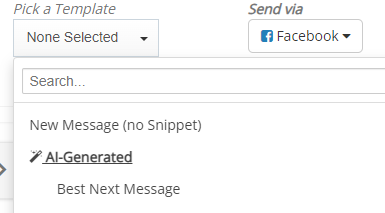
- Select "Send a Message or Message Template"
- Select "Best Next Message" under the AI-Generated category
- Wait for the magic!
- Edit your message template as needed before sending.